DIY Enveloper Liners for A7 Square Flap Envelopes
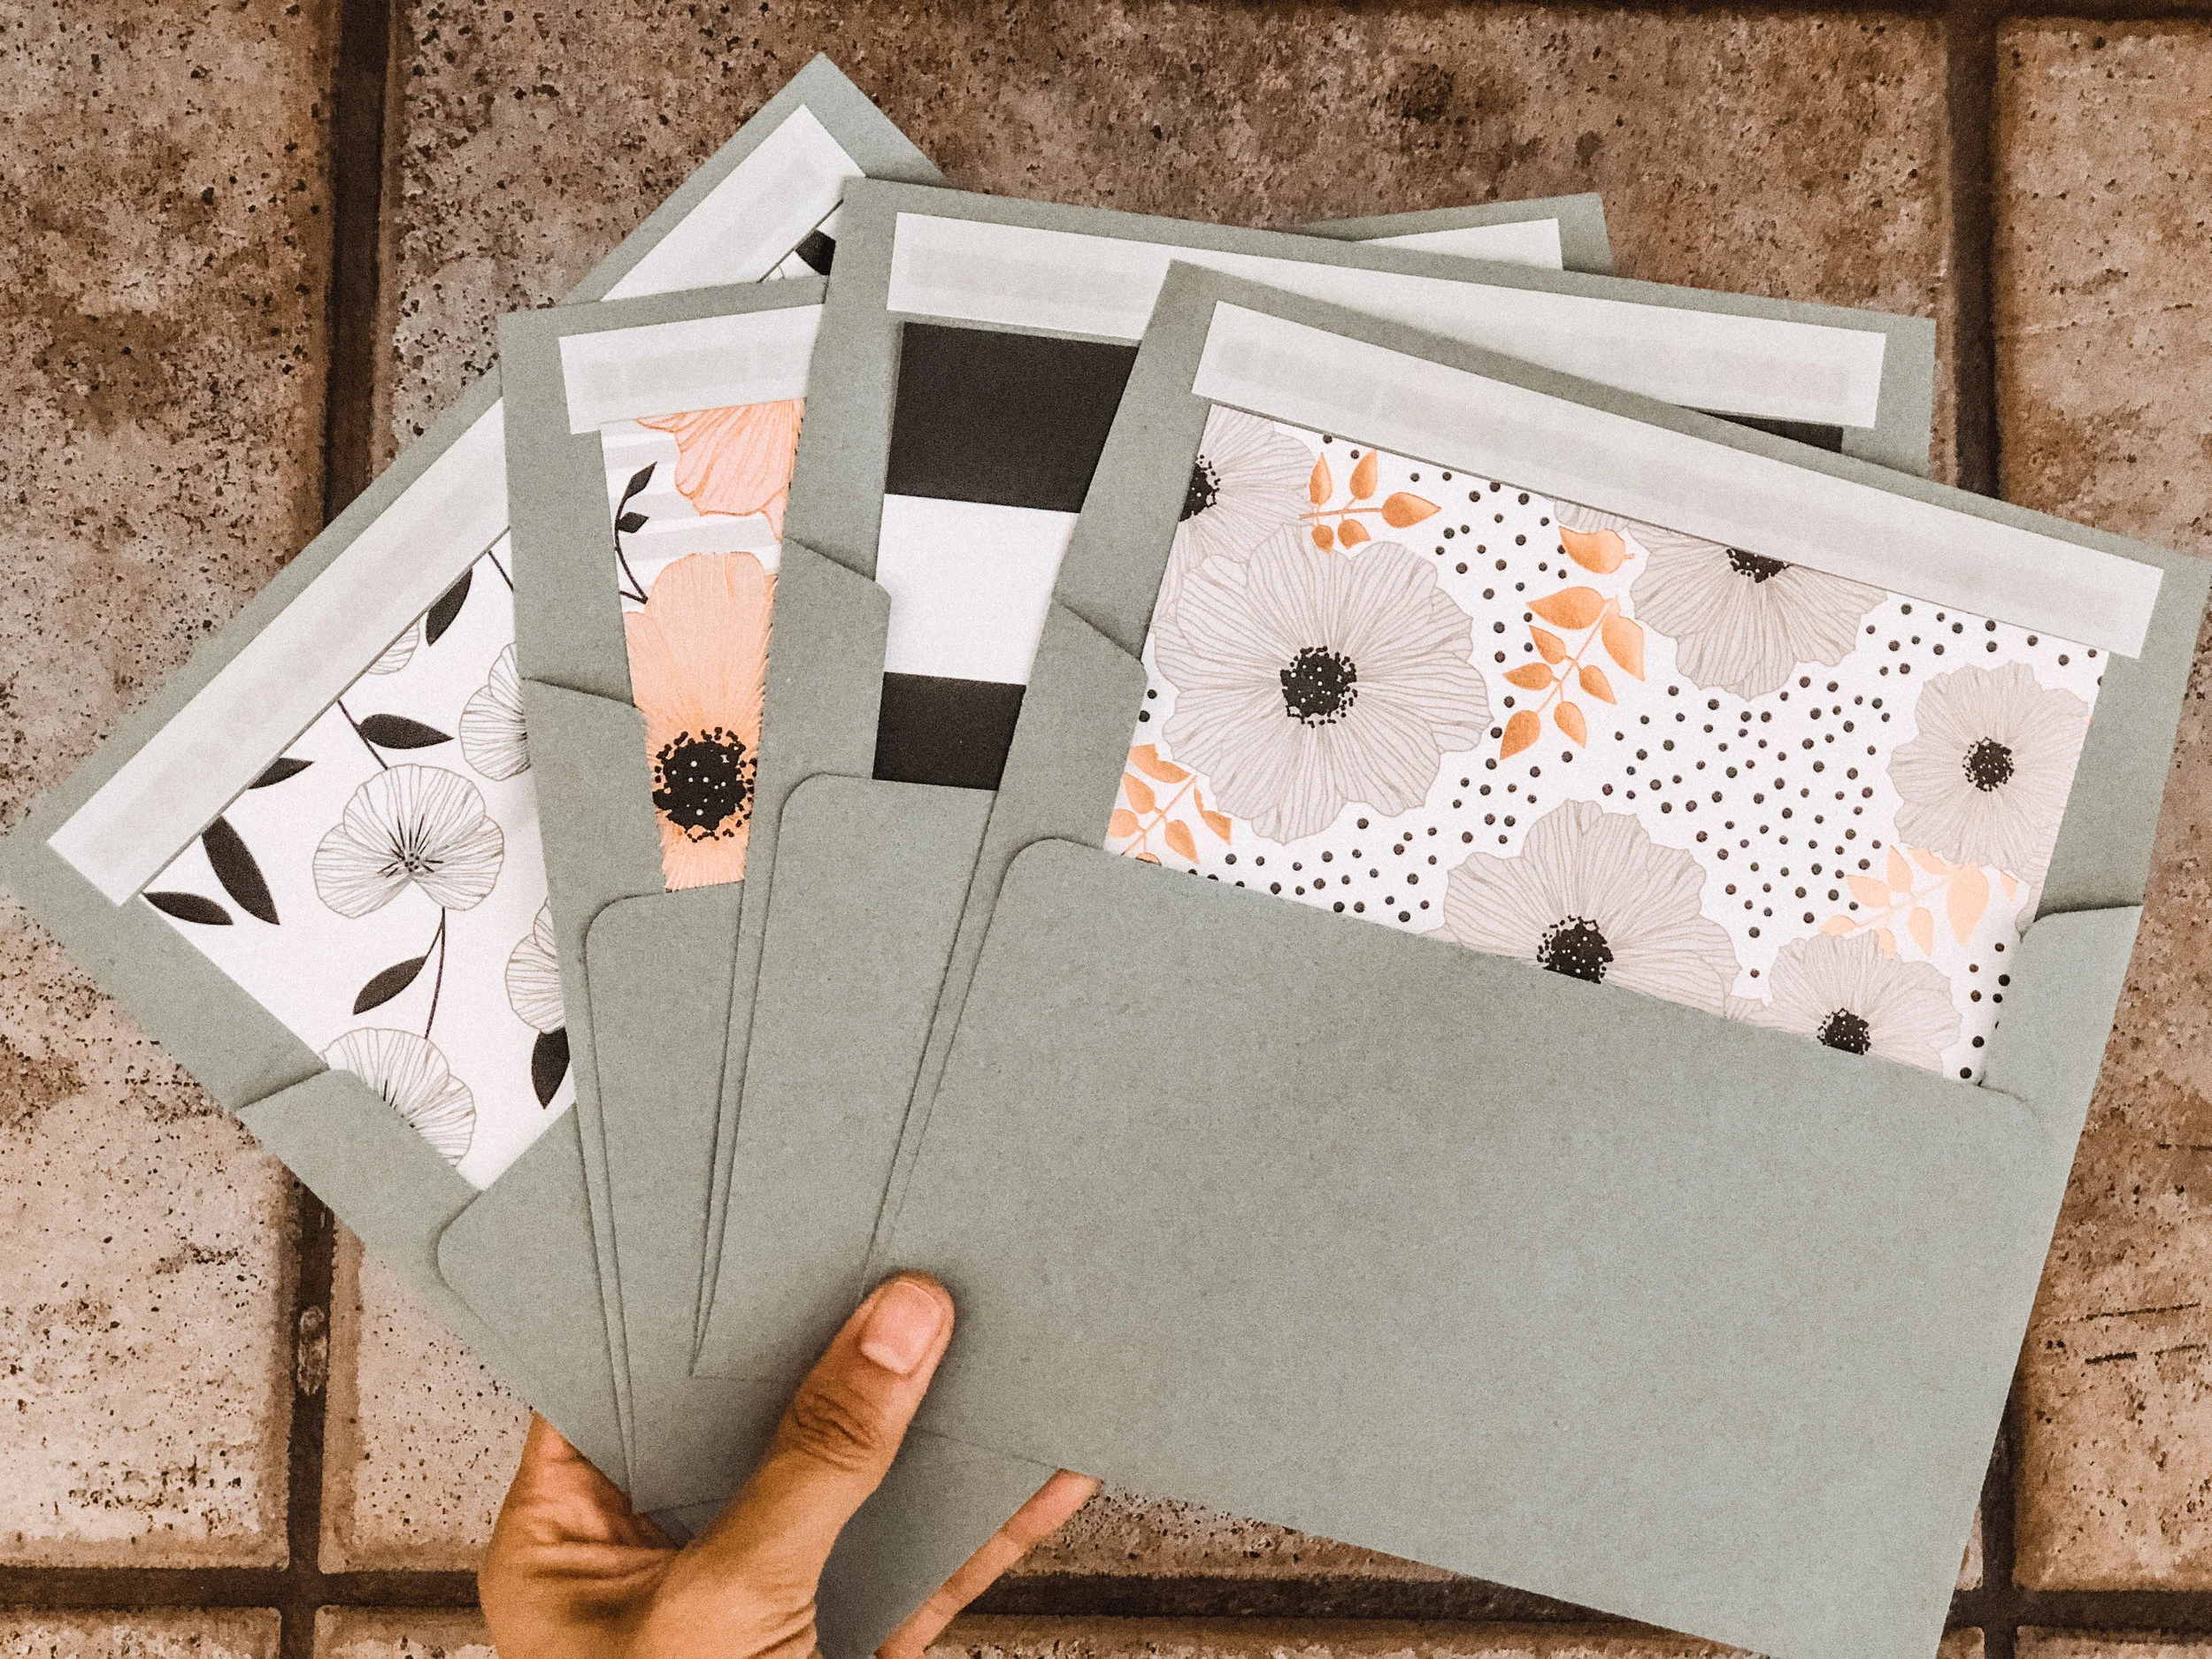
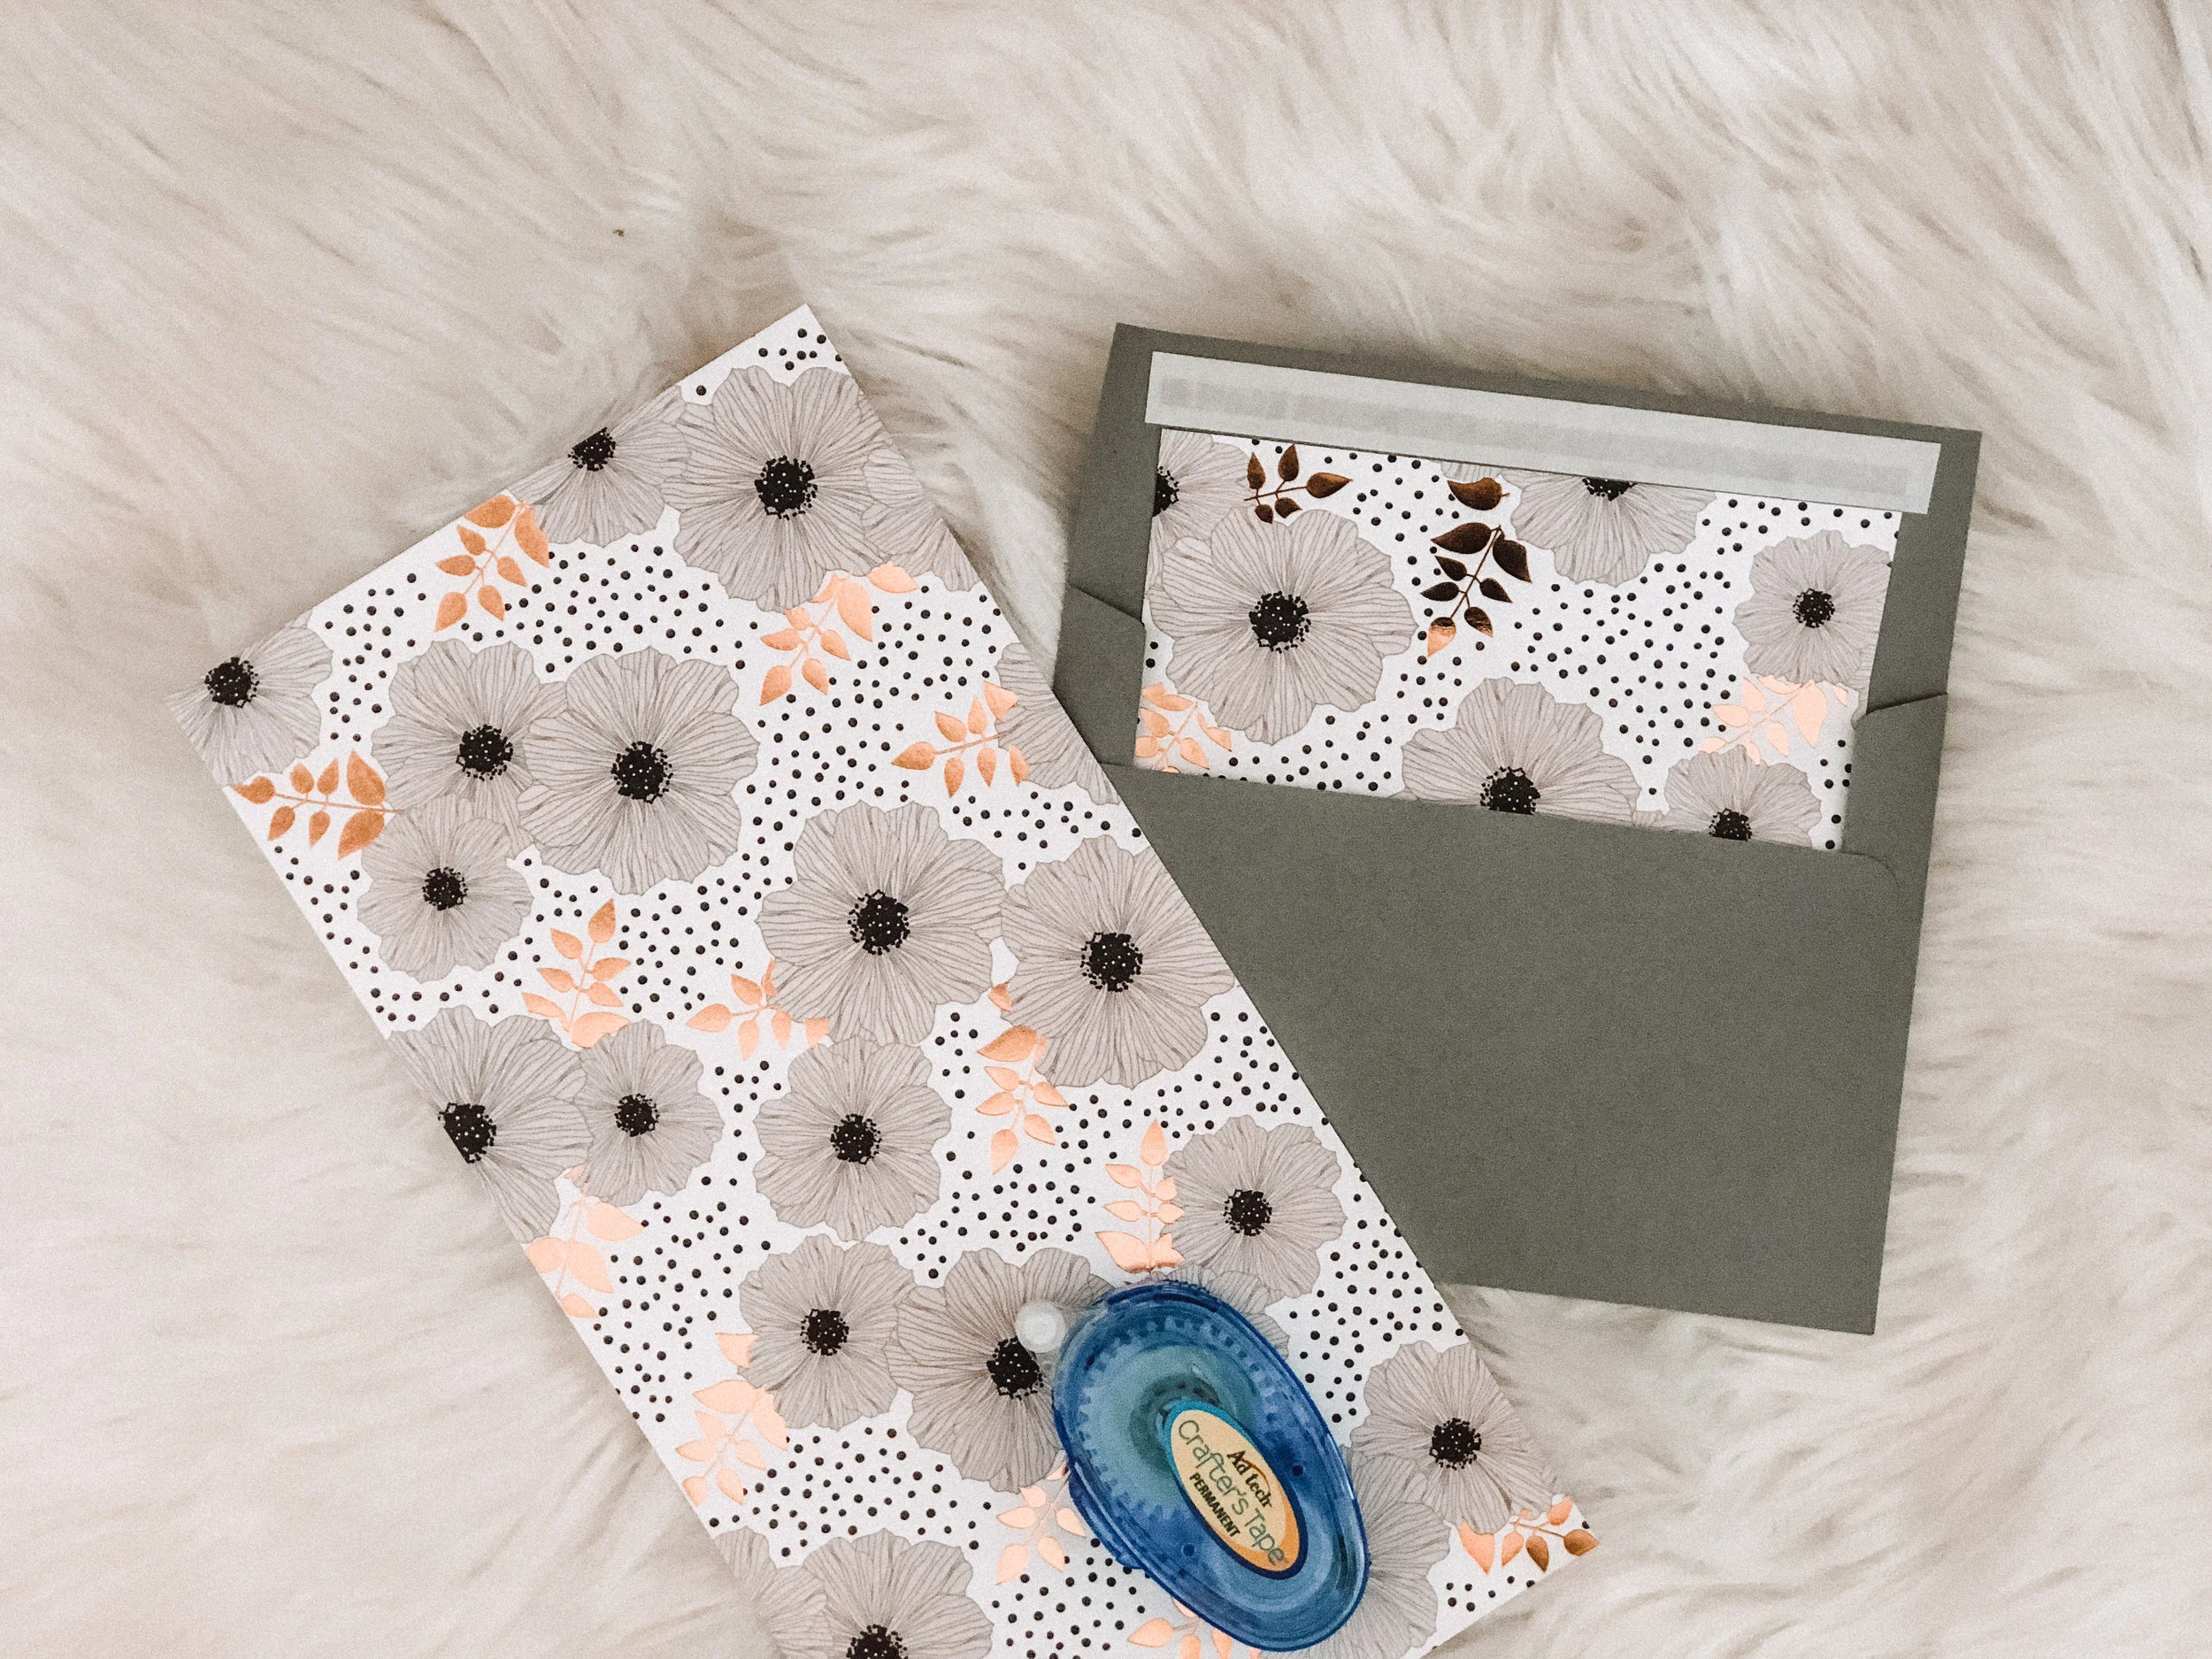
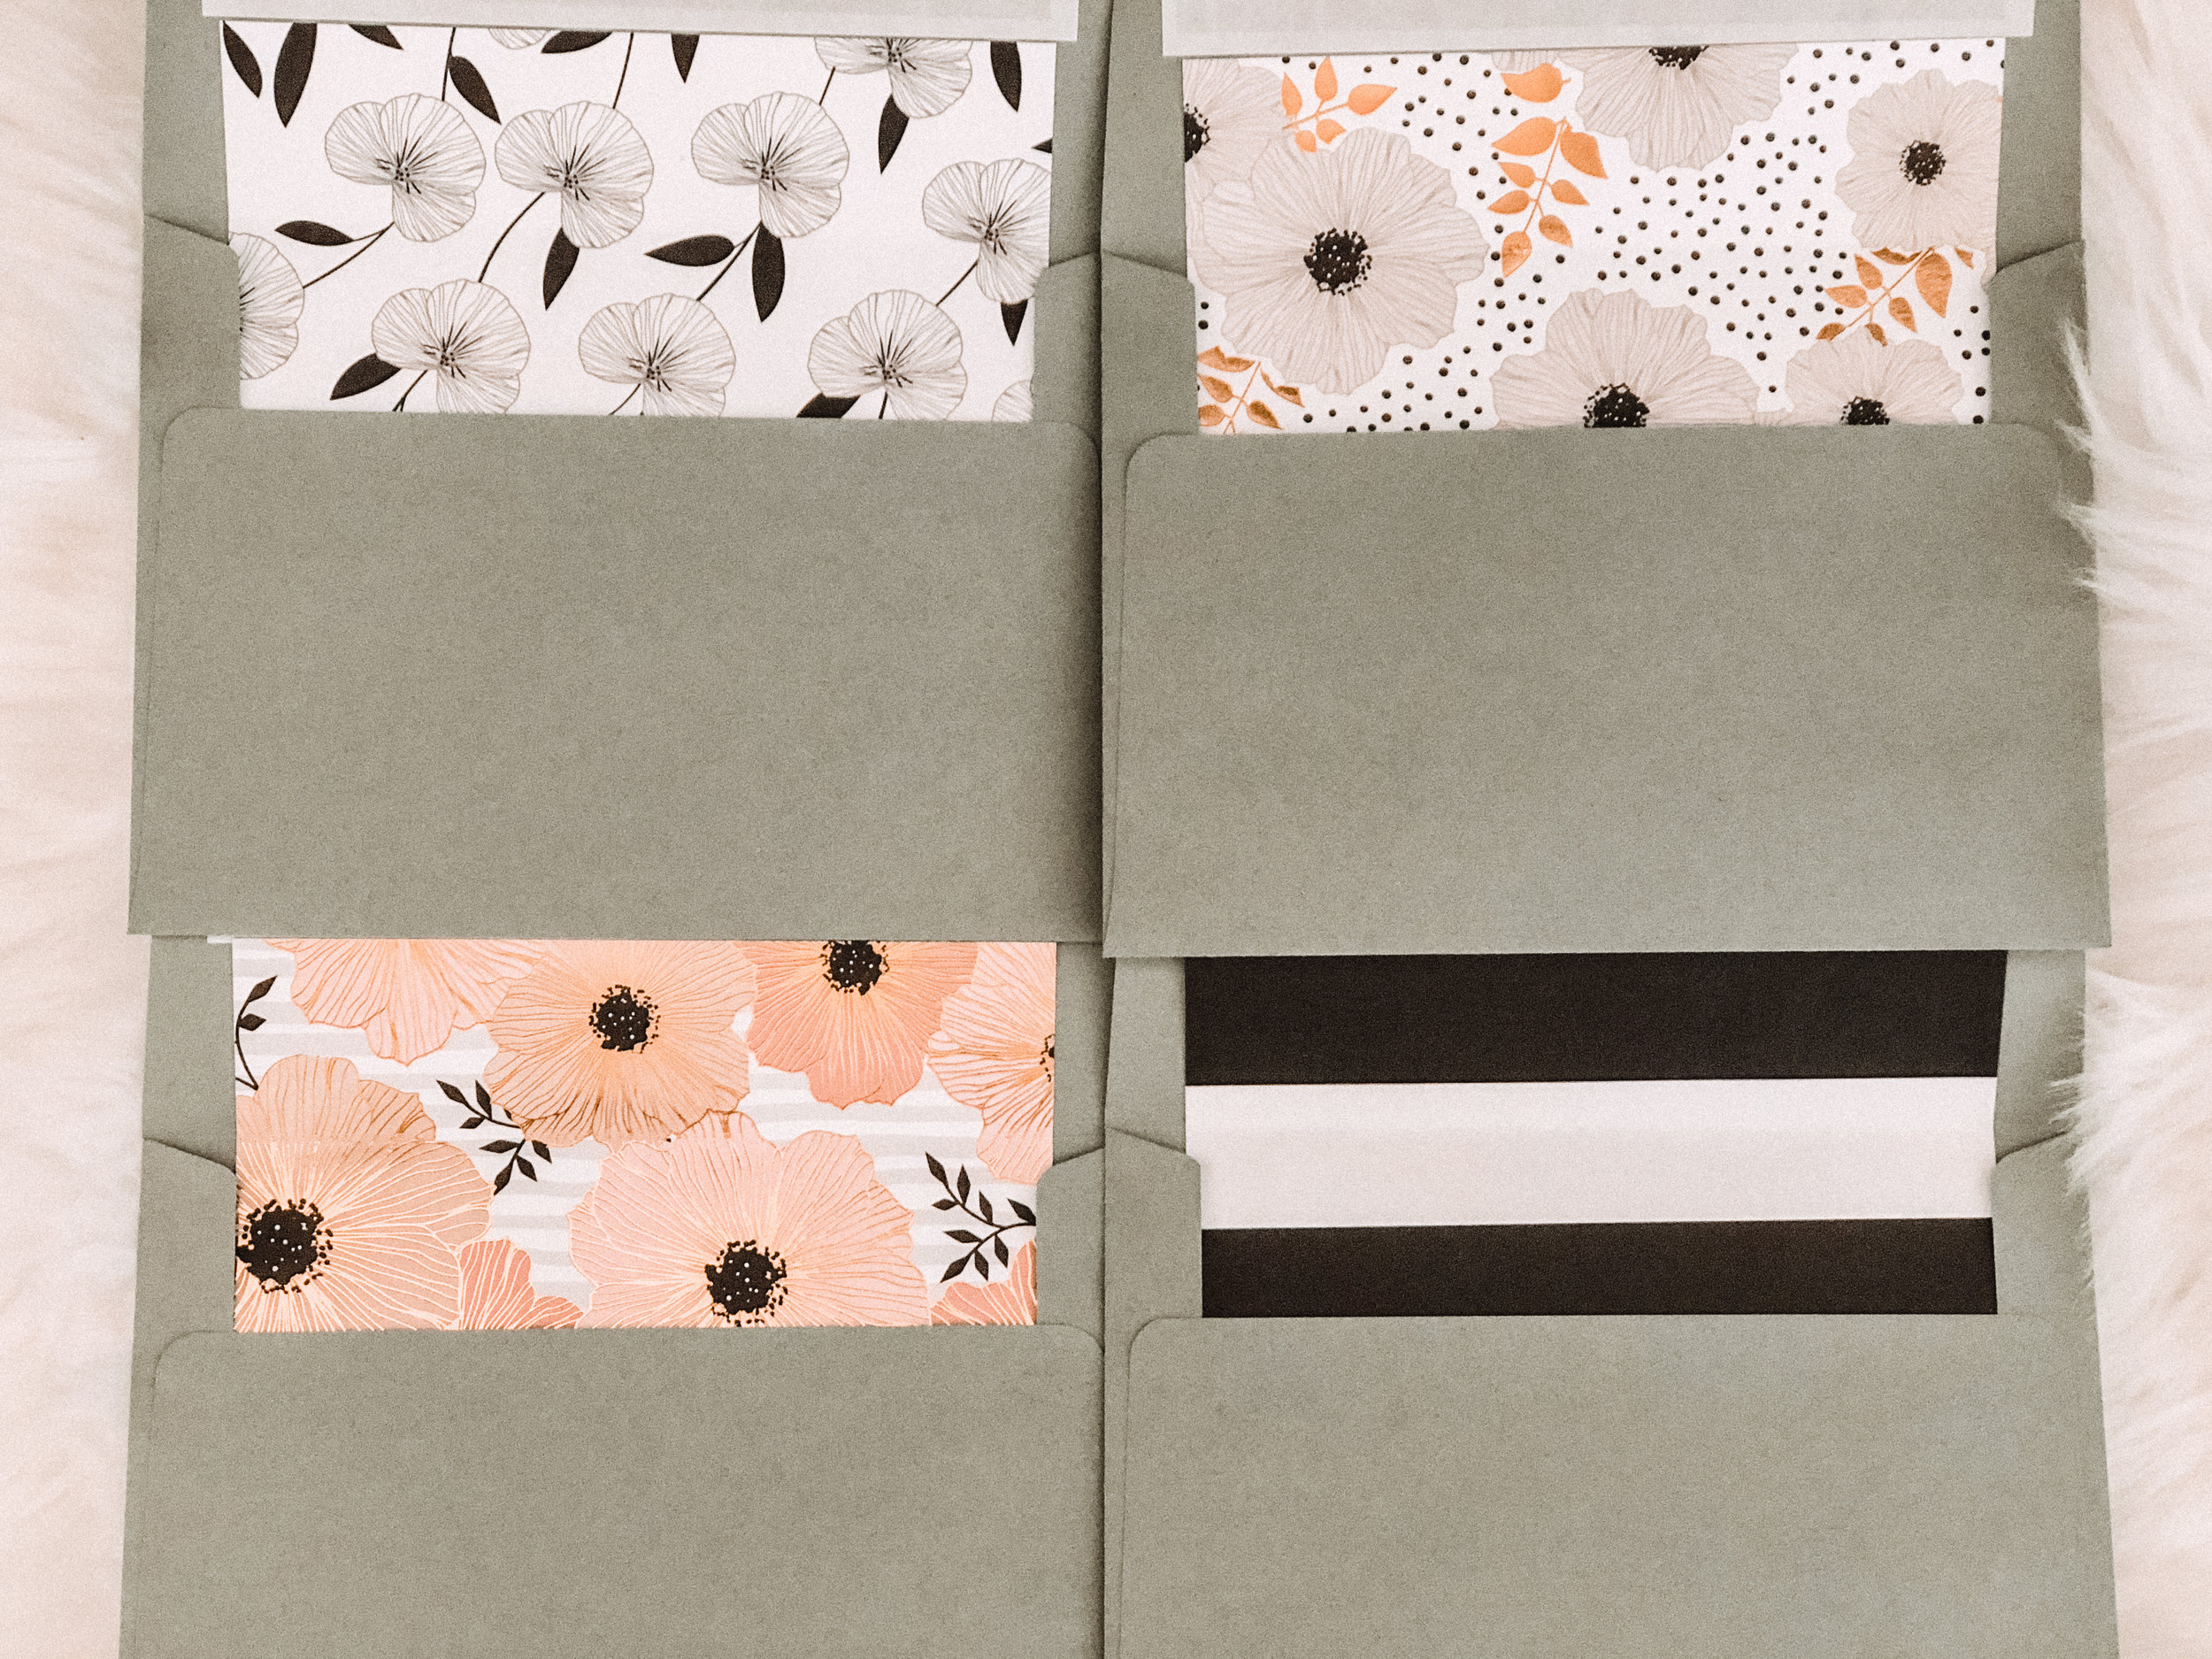
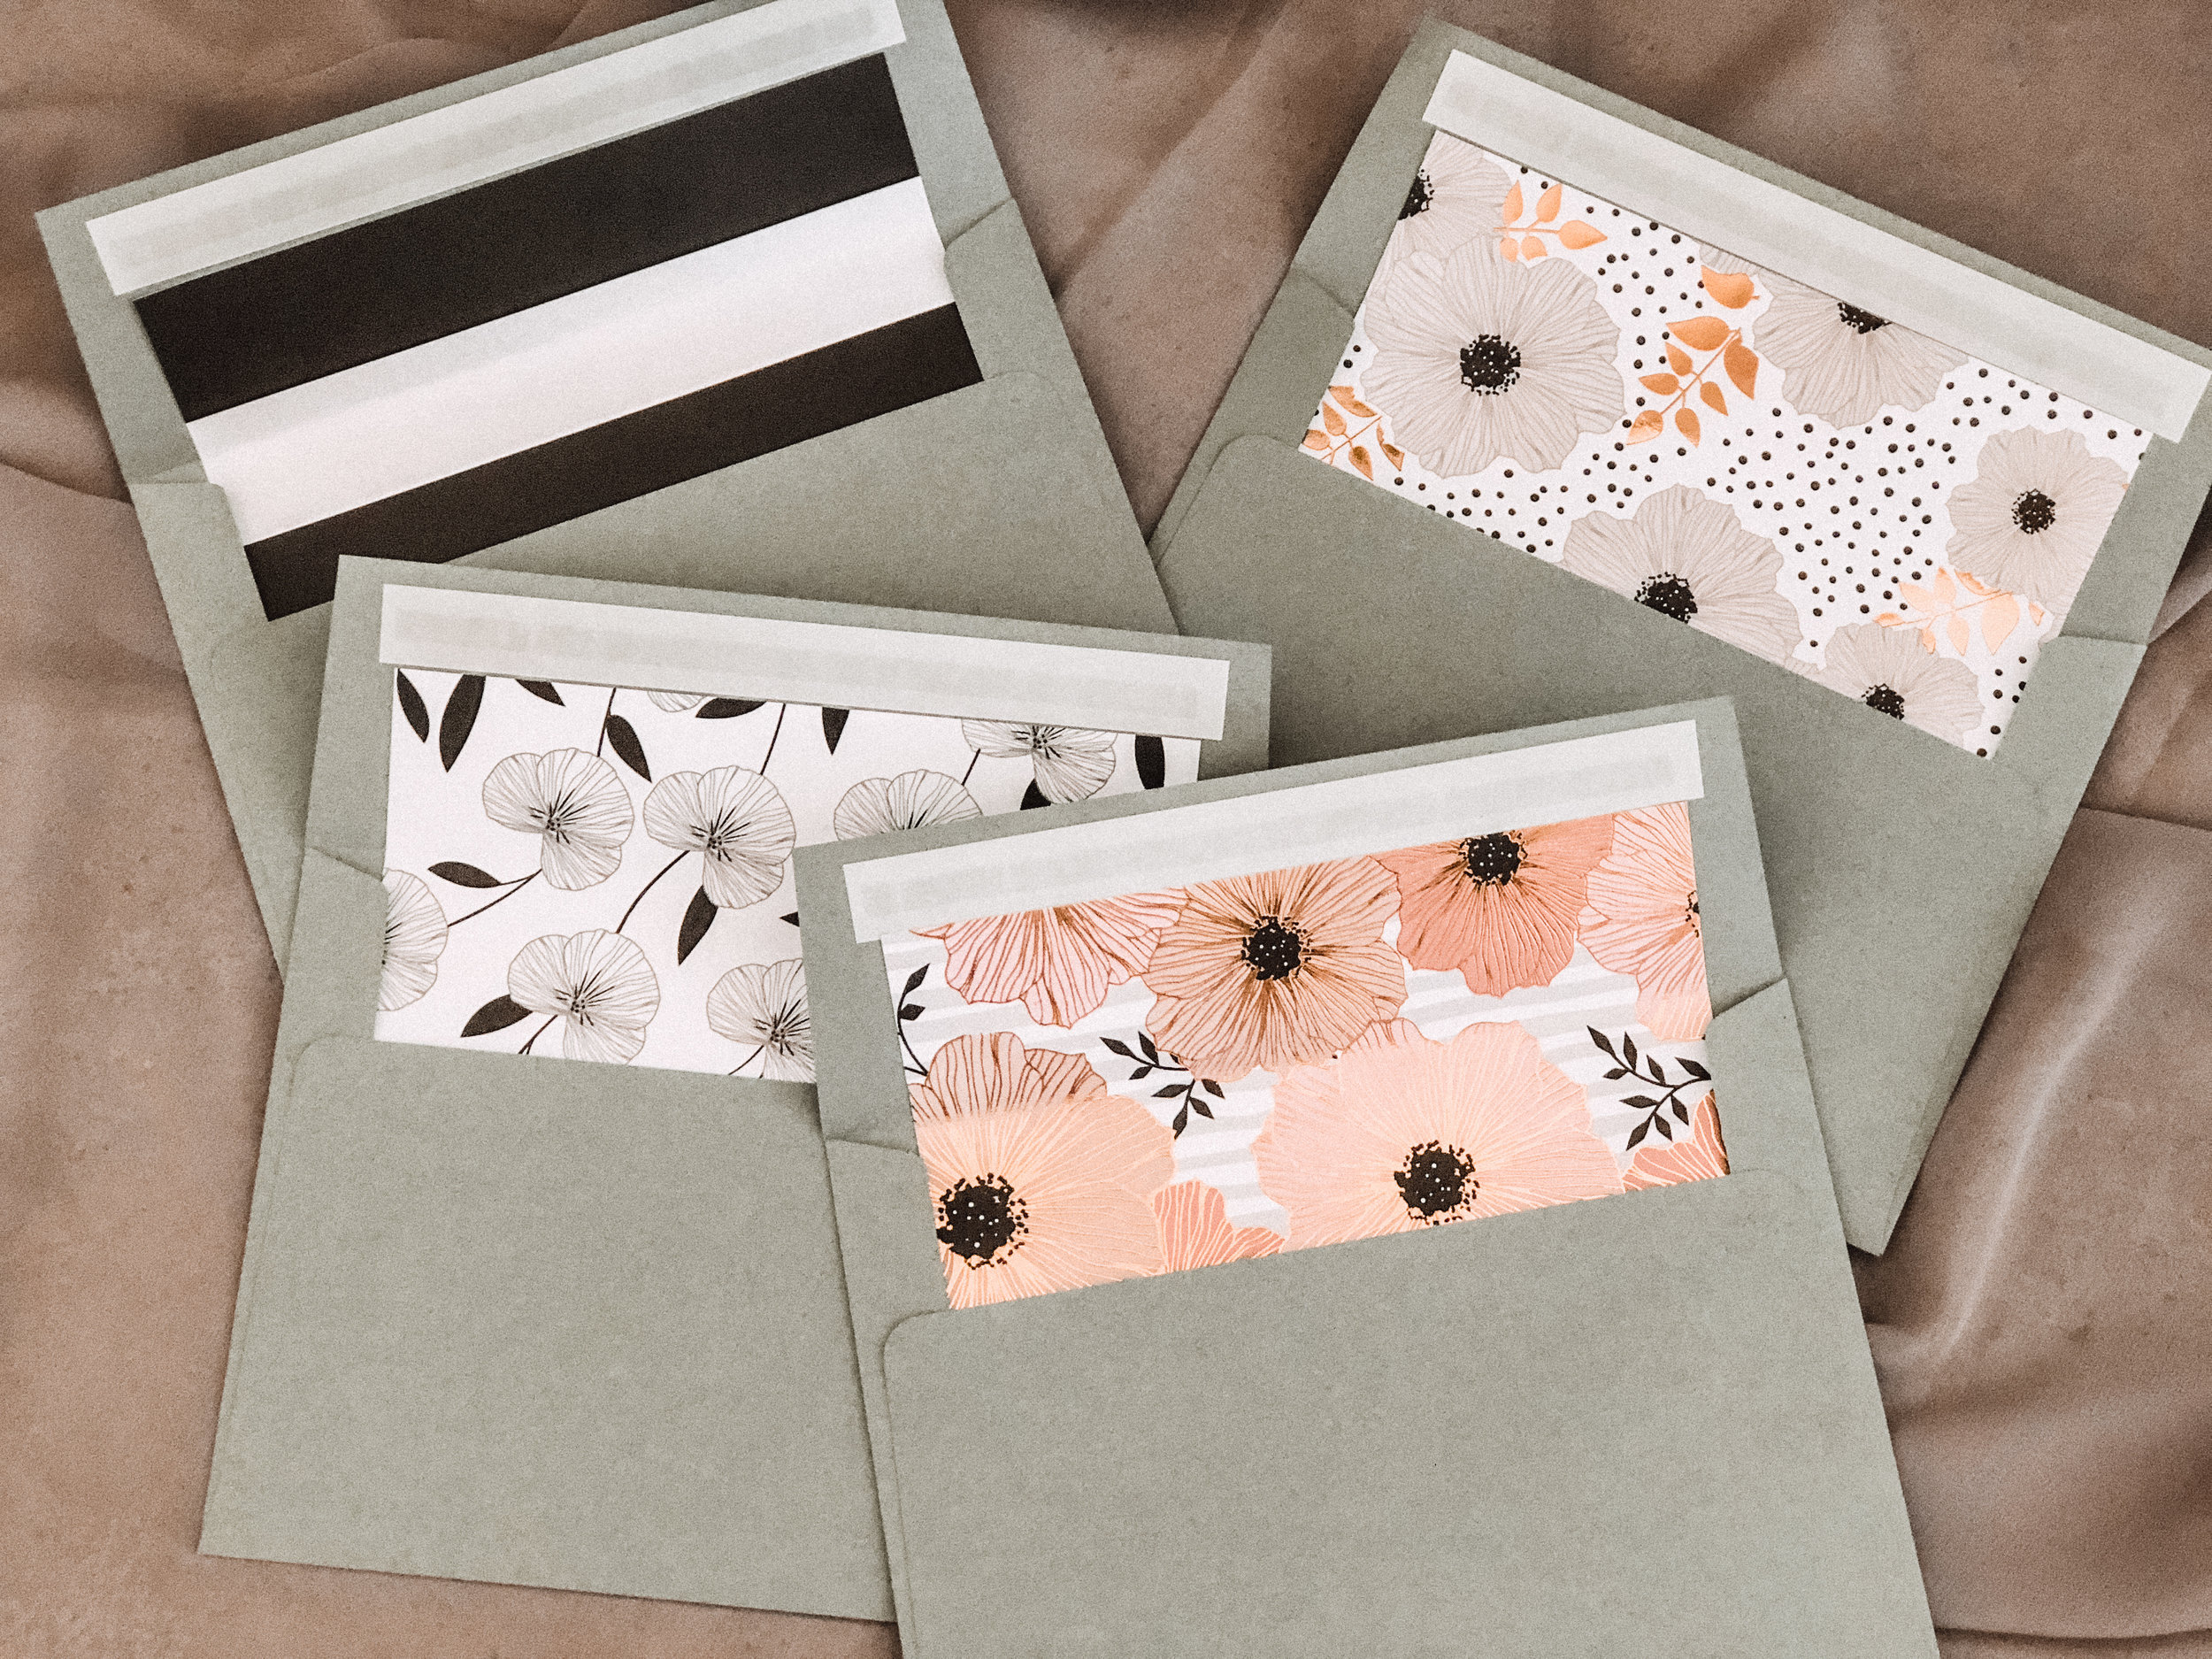
For my wedding invite envelopes, I wanted different printed liners. So I purchased a scrapbook paper pack from Hobby Lobby and was able to cut one 12x12 sheet into fours and glue into each envelope as a liner. It worked out perfectly because you don't need the envelope liner to reach to the bottom of the envelope (where you can't see it anyways), and it also doesn't need to extend all the way to the ends of the sides of the envelope. Here's what I used to create these envelope liners:
+Fiskars Recycled Bypass Paper Trimmer
+Ad-Tech Permanent Crafter's Tape (4-Pack)
+Pretty as a Poppy Foil Paper Pack (12x12)
+Basic Invite A7 Invitation Blank Envelope in Rock
At first, I did try to cut the scrapbook paper into 4s by hand, but I got fed up and wanted a clean cut - the paper cutter REALLY came in handy and I highly suggest purchasing one for all paper cutting needs (as it cuts down cutting time as well). You just have to evenly cut the 12 x 12 paper in half (at the 6 inch mark), and again for each half (at the 6 inch mark). Since I used a paper cutter, I slid the paper through and had the left edge meet at the 6 inch mark because that's how I knew the paper would be cut at 6 inches.
For the permanent glue tape, I did need to use all 4 rolls for 60 invitations (that's with rolling on 3 lines of the glue tape to each envelope). What's nice is I can purchase refill tape packs so I don't need to buy new tape roll applicators. Hope you find this tutorial helpful and easy as it can be applied to any kind of envelope and adds a nice, personal touch!