I love an excuse to celebrate holidays. For the kids ballet classes that I teach, our next class occurs the day before Valentine's Day so I figured it would be fun to do a quick valentines exchange between the ballerinas, but then I thought, they will need mailboxes, so I came up with an easy DIY valentine mailbox project that I constructed from materials I already had.
Time: 1.5 hrs for 10 mailboxes
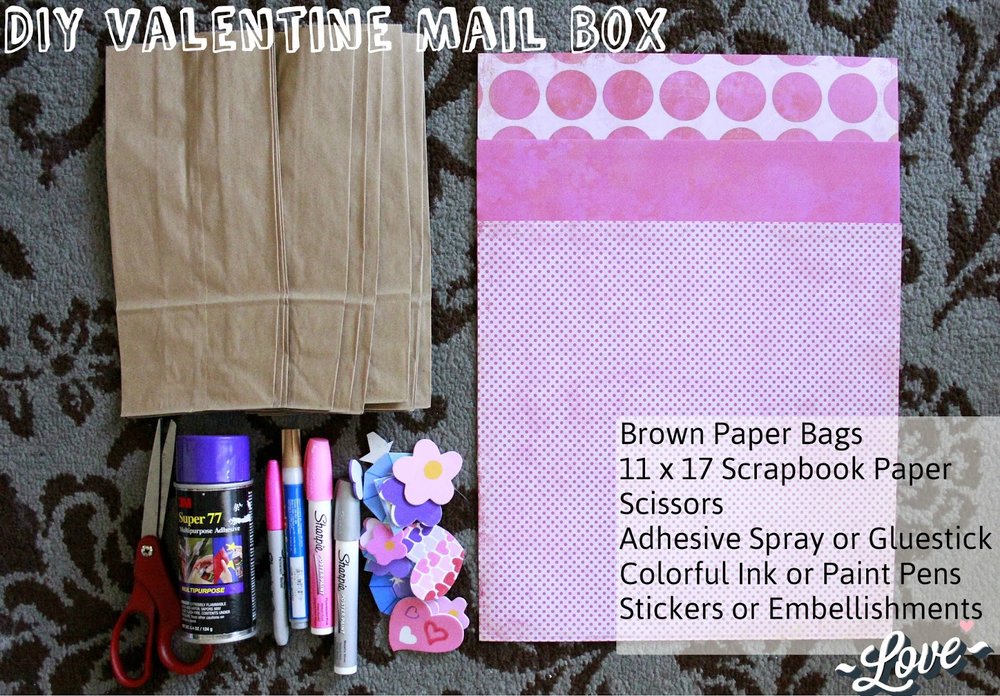
You'll need:
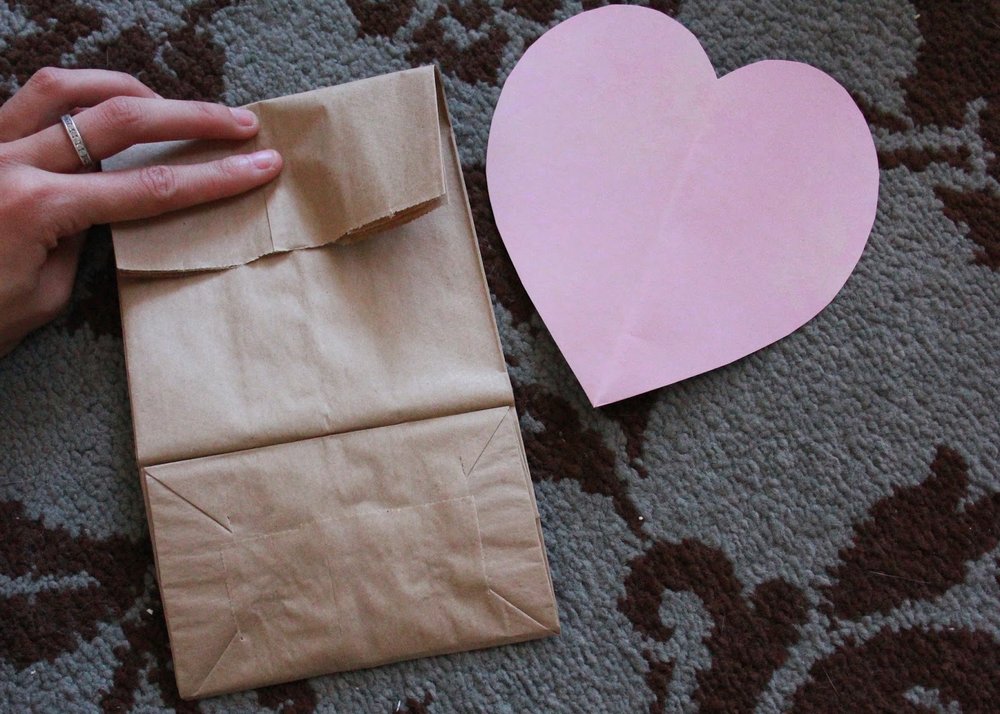
-Brown Paper Bags for however many people you are making them for
-11 x 15 scrapbook papers-1 sheet yields 4 hearts (if you are only making 1, get an 8 x 11 sheet)
-Scissors
-An adhesive: spray, glue stick or glue
-Ink or Paint Pens to write names and customize (I used sharpies and metallic paint pens)
-Stickers or Embellishments (I used foam and rhinestone stickers)
Instructions:
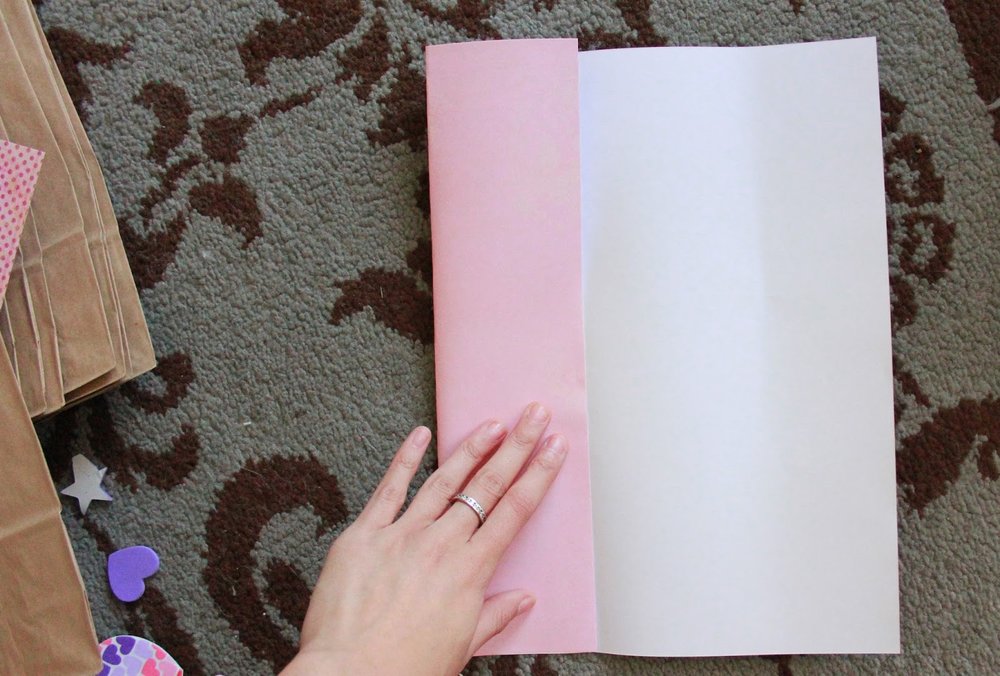
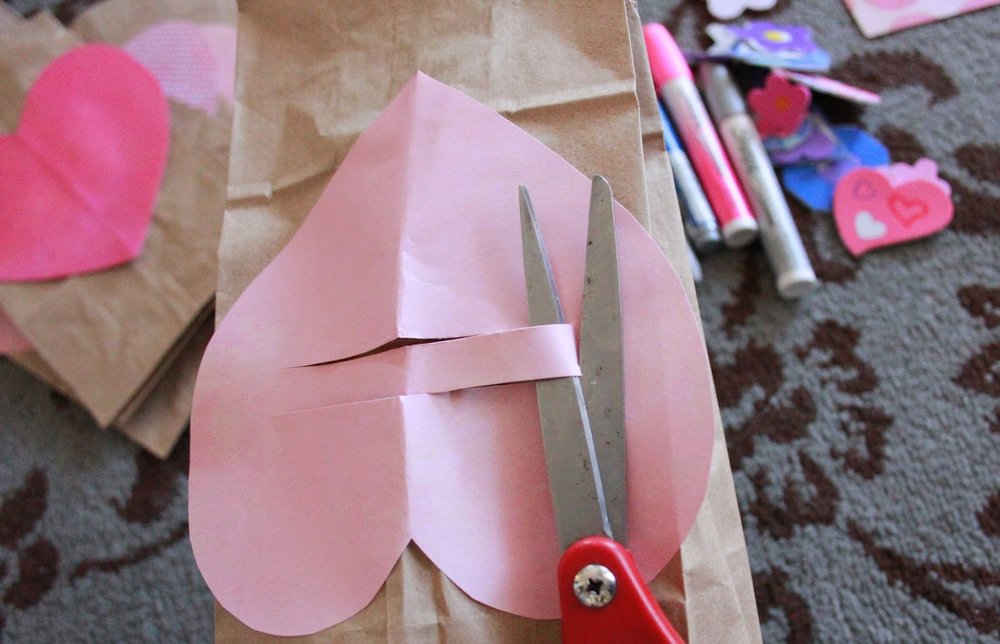
1. FOLD the scrapbook paper in half (long ways or 'hot dog').
2. OPEN and FOLD from each side, the outside in towards the center crease to create 2 more folds.
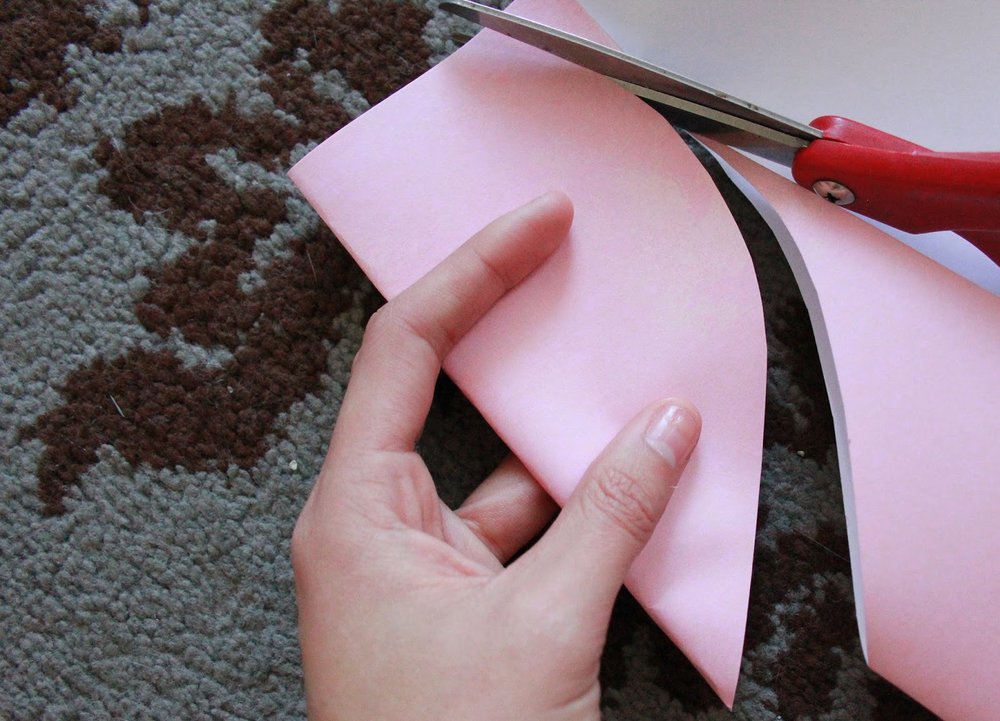
3. KEEP 1 SIDE FOLDED and start cutting a 1/2 heart shape from the middle upwards towards the center crease, then do the same cut at the bottom of the same side. Repeat to cut 2 more hearts on the other fold. You should have 4 hearts.
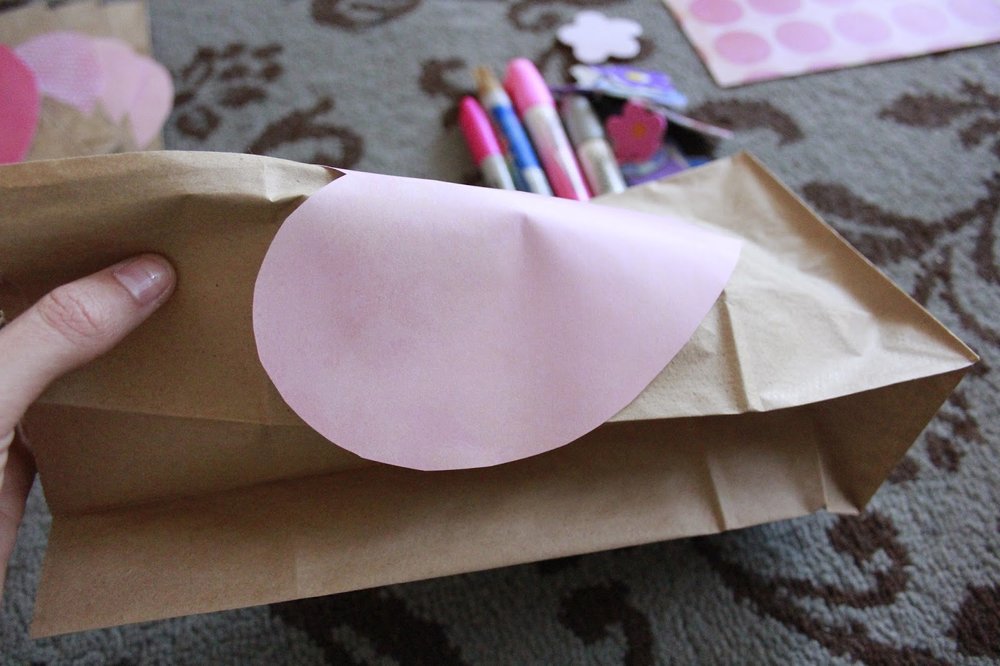
4. FOLD approximately 2.5 inches of the top of the brown paper bag back to create a crease. Add glue to the back of your heart and place on the front of the bag. The top of the heart should extend or sit right at the crease at the top of the paper bag.
5. UNFOLD the crease and slightly bend the bag and heart down the center.
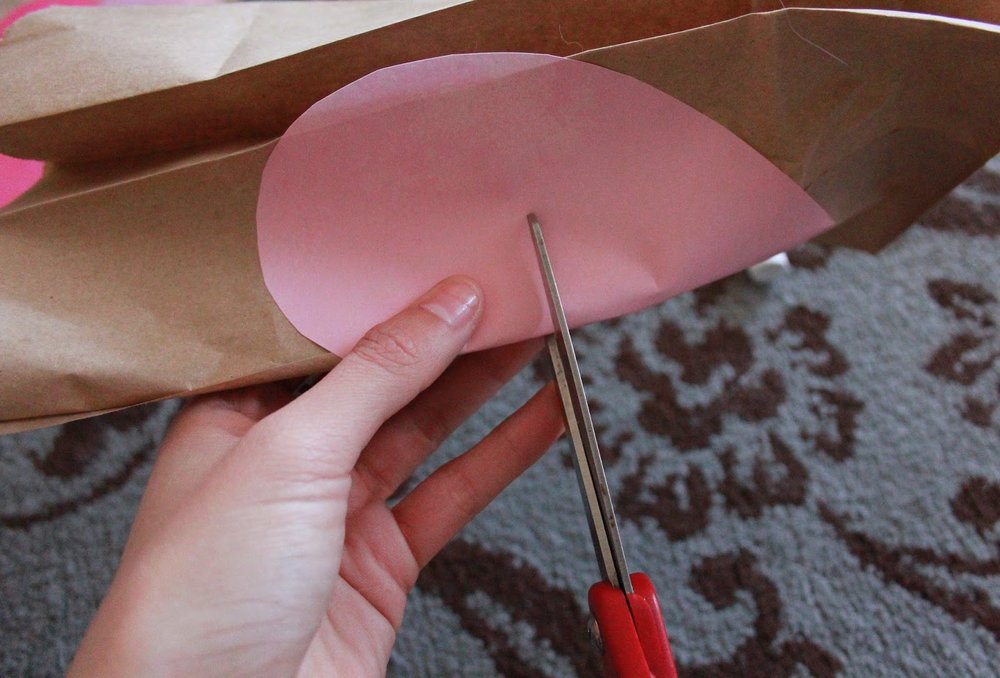
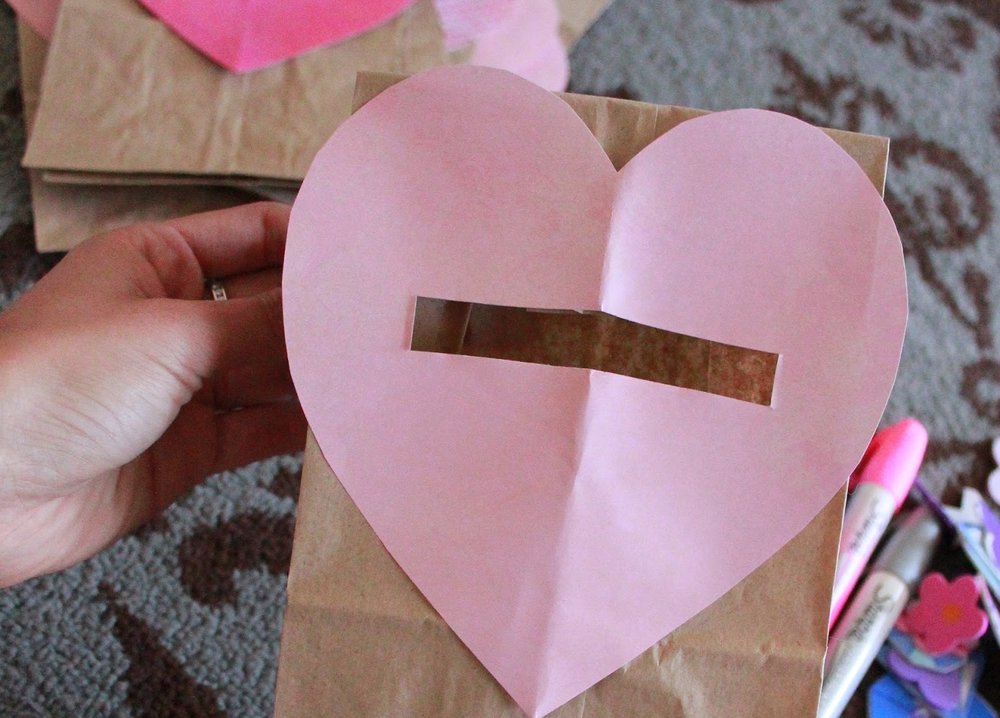
6. HOLDING the center fold towards you making sure not to cut into the back of the paper bag, start to cut 2 slits in the center of the heart. Continue to cut both slits approximately a 3 inch wide across the heart. This will be the opening for your mailbox.
7. UNFOLD the center bend, slide your scissors under the 2 slits and cut both sides to create the opening.
8. DECORATE and EMBELLISH while the bag is flat. Get creative and have fun!
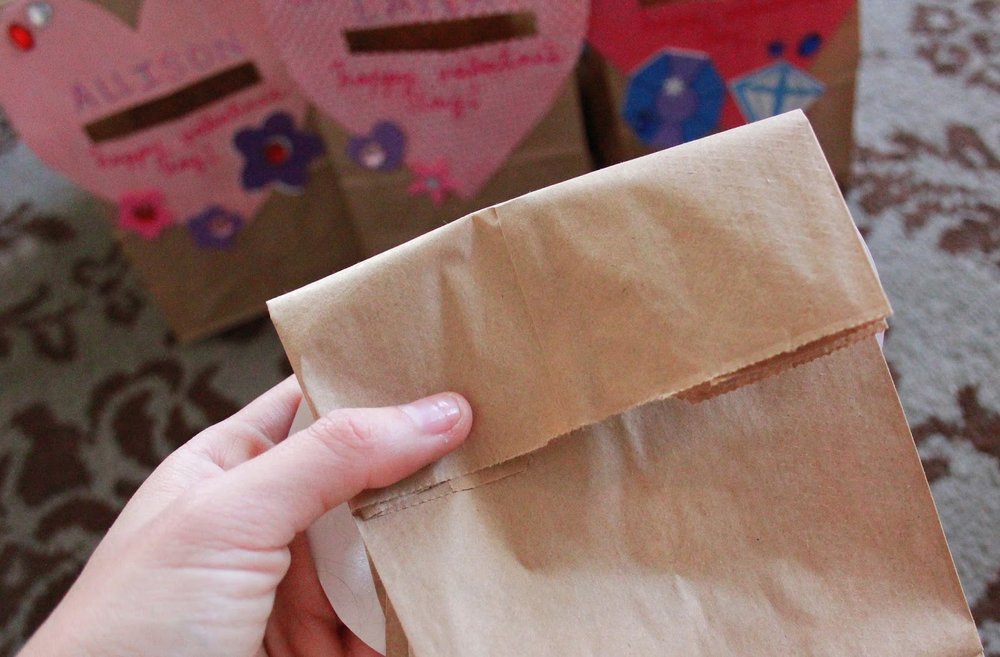
9. OPEN the bag and fold the top back at the crease
and either glue, tape, or staple (the sides of the fold not the center)
down.
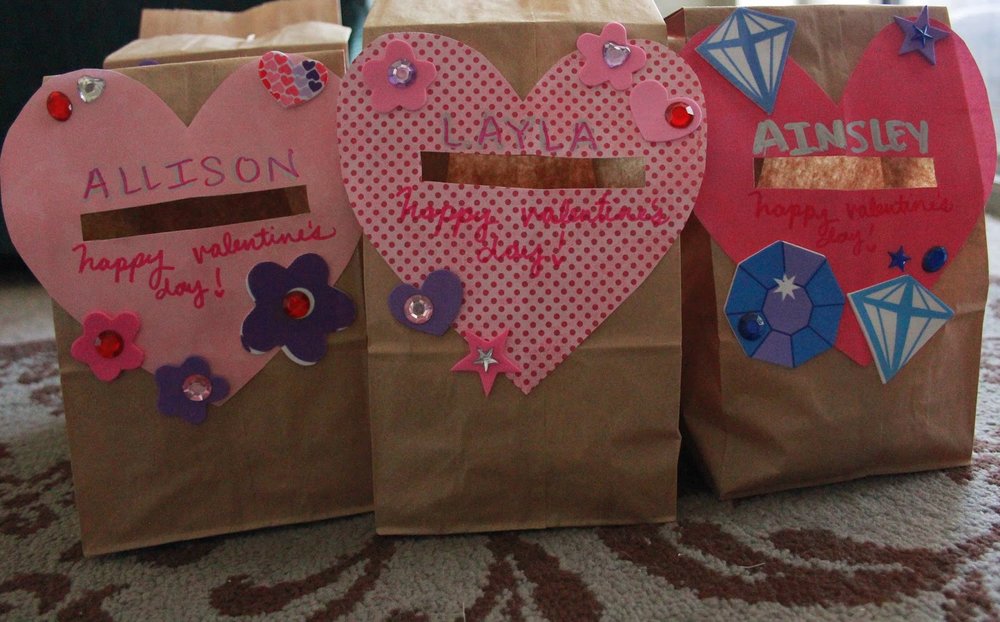
10. I wrote my students' names on the bags and added foam flower, heart, and star stickers finished with rhinestone embellishments!
There you go! Have fun exchanging valentines!